
 Image 1 of 3
 Image 2 of 3
 Image 3 of 3
Plant Information
Grow Guide

Ease of Growth
Moderately easy to grow

Life Cycle
Perennial grown as an annual

Planting Season
Late summer and autumn

Plant Use
Culinary, medicinal, and pest repellent

Edible Parts
Bulbs, leaves, stems, flowers, bulbils

Days to Maturity
150 - 190 days from transplant

Hardiness
Cold hardy, frost tolerant, and heat tolerant

Light Exposure
Full sun

Soil Conditions
Fertile and well draining

Plant Spacing
20cm on centre

Plant Height
40cm tall

Support Structure
No structure needed
Description
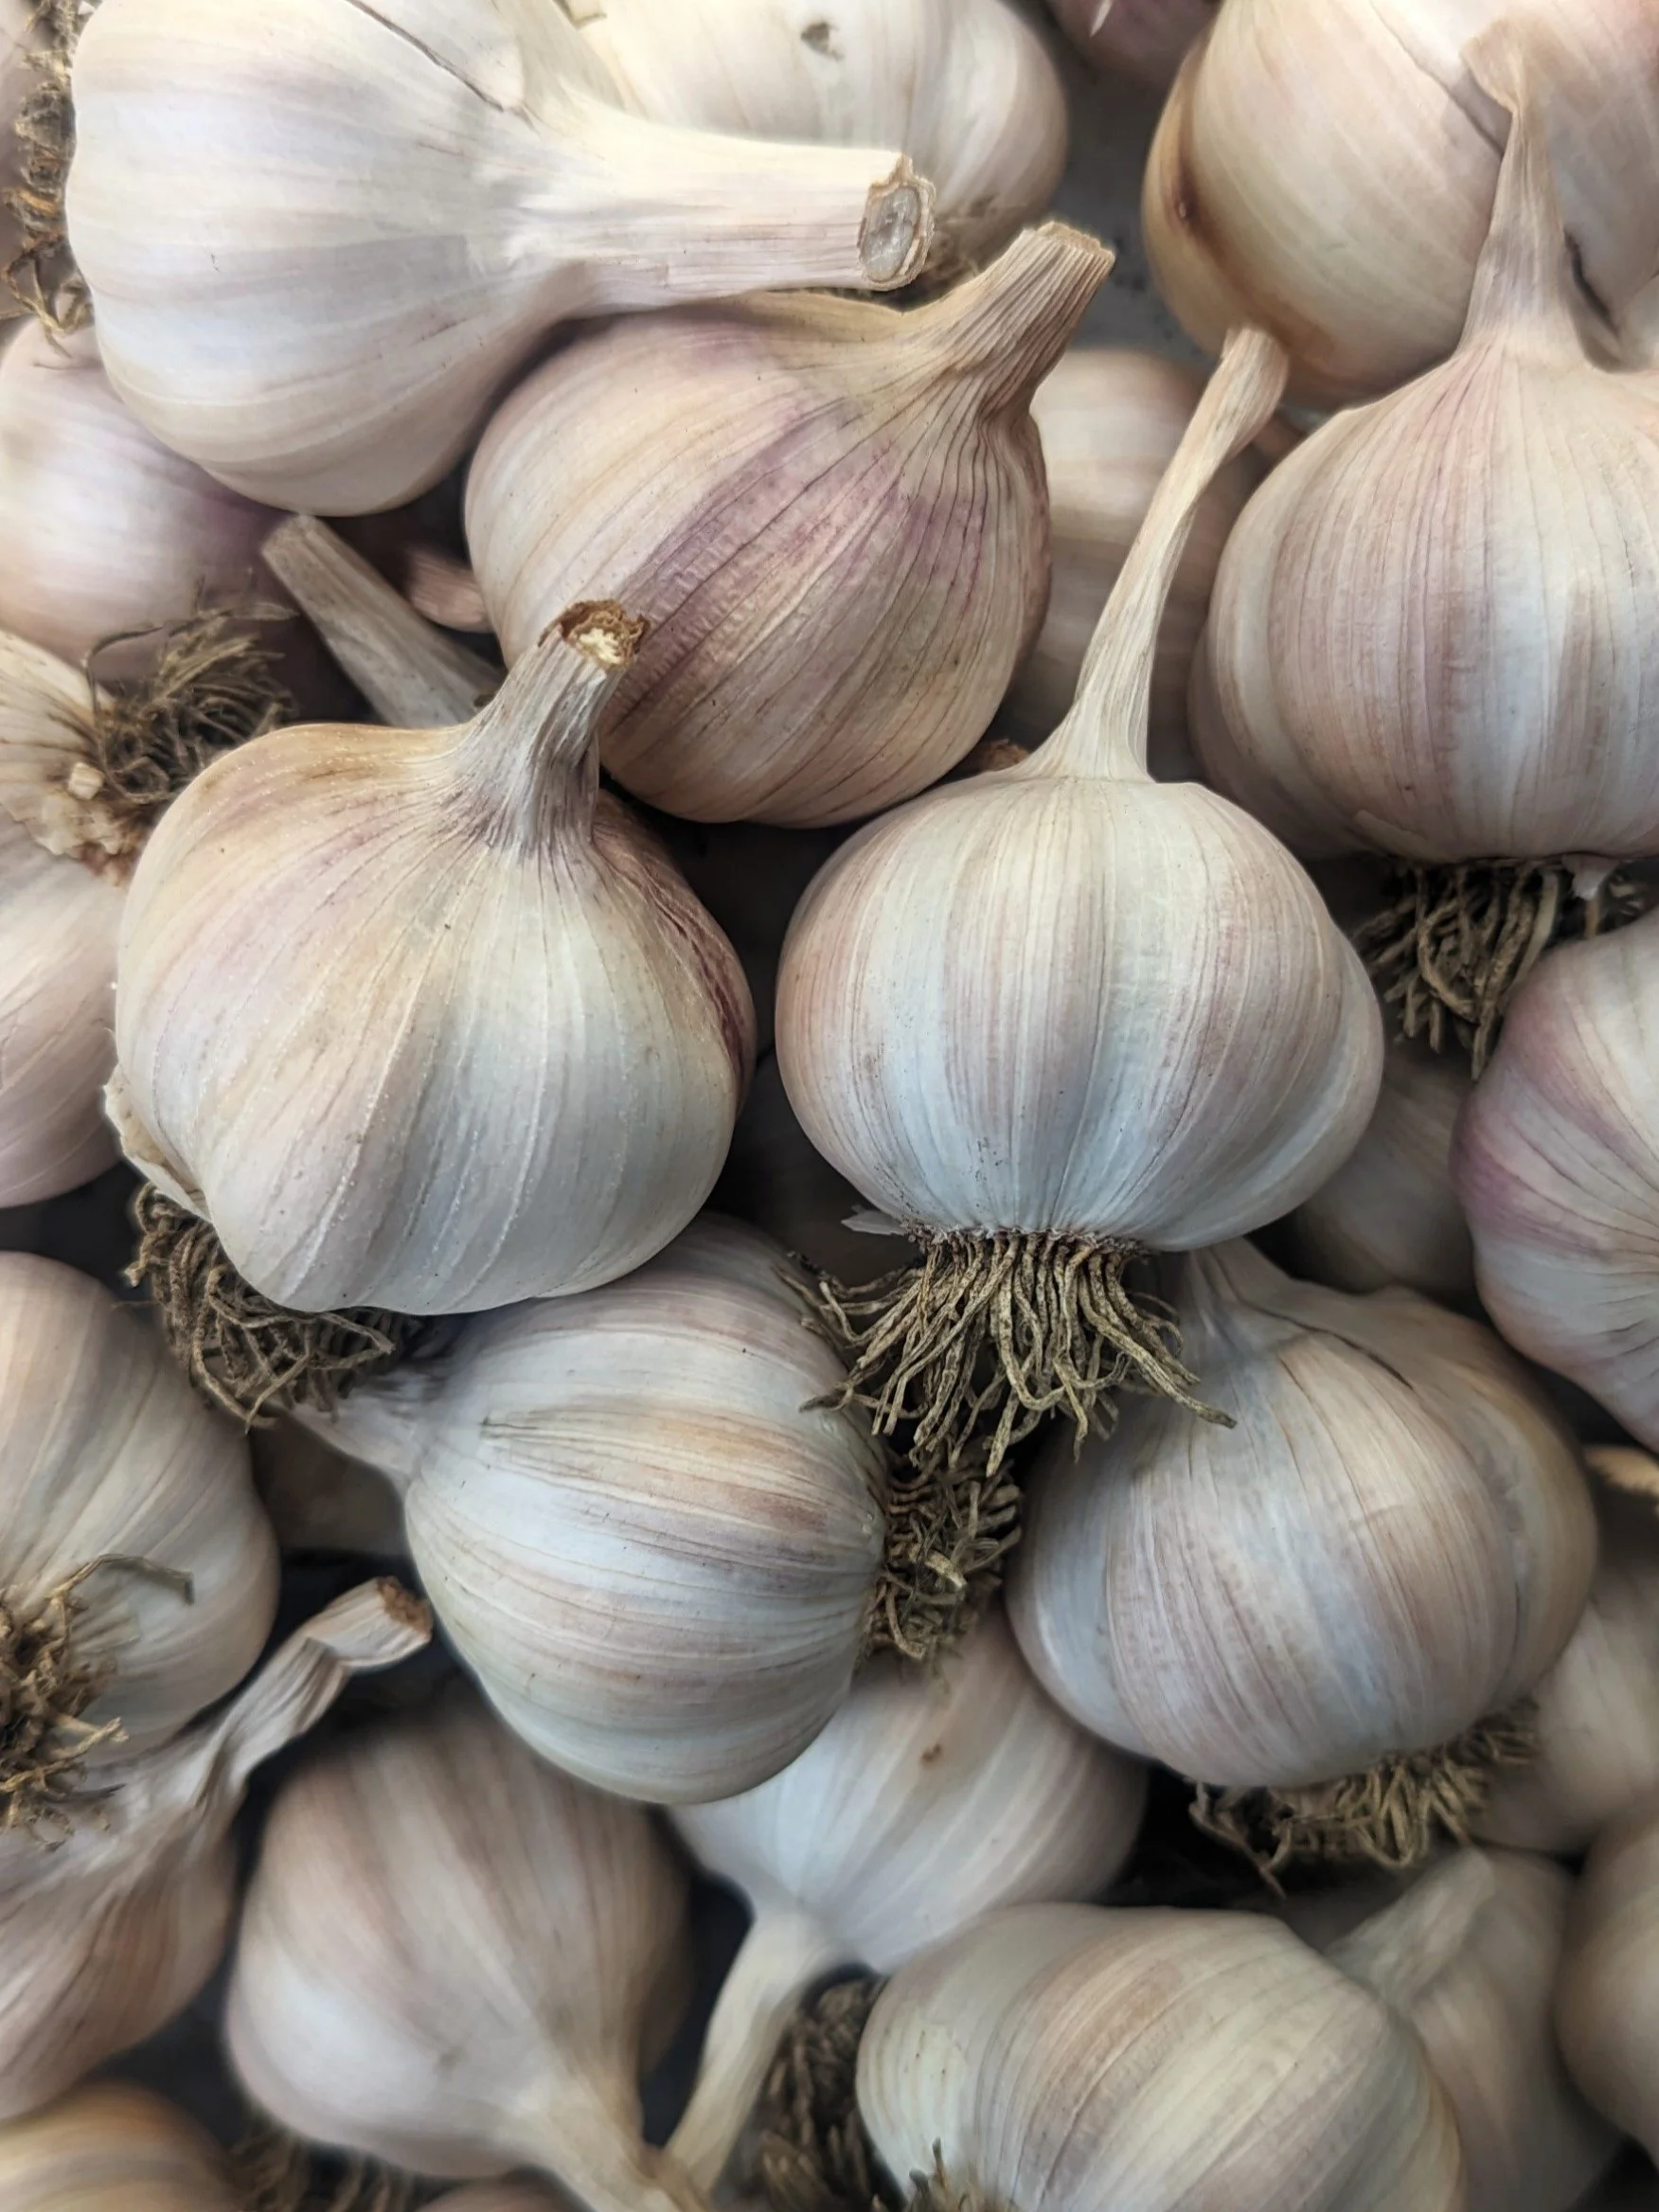
Early Purple has large, flattened, globe-shaped bulbs, which are wrapped in a distinctive white and purple striped outer skin. These bulbs can grow as large as 10 cm in diameter and generally produce 6 to 12 cloves that loosely spiral out from the central stalk. The uniform cloves are characterised by their plump, rounded shape and blunt tips, covered in thin, easy-to-peel skin that ranges in colour from creamy-beige to vibrant pink.
Their flavour profile is mild with medium heat, making them ideal for raw eating. When cooked, their taste becomes more mellow, sweet, and nutty, enhancing dishes with a subtly pleasant garlic flavour and aroma.
Being a hardneck variety, the plant is capable of producing a delicious edible flower stalk called a scape, which grows upward from the centre of the plant and then curves back toward the ground.
Early purple is an exceptionally fast maturing variety making it a highly suitable option for avoiding garlic rust in northern New Zealand's climate.
They can be stored well for 6 months after harvest.
How to Plant Garlic
When to Plant
When it comes to planting garlic, timing is crucial as this will significantly influence the overall success of the harvest.
Hardneck garlic varieties, including Early Purple, require a cool temperature range of 5-10°C for a period of 1-2 months to promote proper bulb development. This process, called vernalization, can be achieved in most climates across New Zealand when planted in the autumn months.
Planting should take place before the vernalization period from April to June to ensure that the garlic can establish a strong root system and plenty of foliage before the cooler temperatures set in. This early growth will increase the likelihood of producing large, healthy bulbs in late spring and early summer.
To reduce the chances of damage from the common garlic rust fungal disease, it is recommended to plant earlier in the season before the spores become prevalent from mid to late spring. By doing so, the effects of the disease can be minimised, allowing the garlic to mature and be harvested before any potential infection can occur.
Site Selection
Another essential factor to consider when planting you garlic is its location.
Garlic thrives when positioned in an area that receives full sun, with a minimum of six hours of sunlight per day. This exposure promotes maximum photosynthesis during the shorter winter days, which is necessary for healthy growth and bulb development. Exposure to full sun also allows the plants to dry out during the day and remain dry for longer intervals of time, which significantly decreases the risk of fungal diseases that thrive in damp conditions.
It is best to avoid planting in areas where Allium species, such as shallots, chives, leeks, onions, spring onions, and particularly garlic, have been grown in the last few years. This will help reduce the likelihood of soil diseases and nutrient depletion and promote the health and productivity of your garlic crops.
Soil Requirements
Garlic requires fertile soil that is rich in nutrients, particularly nitrogen, potassium, and phosphorus, to ensure adequate nourishment during its growth cycle. They favour a soil composition that is both well-draining and capable of retaining moisture, allowing them to remain consistently moist while preserving nutrients without becoming waterlogged.
The soil should maintain a pH level between 6.0 and 7.0. If the pH is not within this range, it can hinder nutrient availability and absorption, leading to poorly nourished plants that are more vulnerable to diseases.
Soil Preparation
Preparation begins with an evaluation of the current soil conditions and making amendments as needed prior to planting.
Compost and aged manures can be added to the soil to boost its nutritional content. Additionally, nitrogen rich organic matter such as grass clippings, seaweed, and worm castings can be incorporated into the soil to provide the essential nutrients for leaf development. This will also improve the structure of the soil, retain moisture, and increase biological activity. Fertilisers can also be used to address specific nutrient requirements.
To adjust the pH levels, natural amendments such as bonemeal or wood ash can be added to increase the pH, whereas leaf mold or pine needles can be used to lower it.
Garlic Preparation
Prepare the garlic by carefully separating the individual cloves from the bulb and inspect them for imperfections. Cloves that have torn skin can still be planted, as long as they are not otherwise damaged. It is recommended to avoid planting damaged cloves as they may be more susceptible to disease and rotting.
Soak the healthy, firm, and plump cloves in a diluted liquid seaweed or fish fertiliser mixed with one teaspoon of baking soda per 5L of solution for 12 hours prior to planting. The fertiliser will inoculate the cloves with nitrogen to encourage fast sprouting and enhanced root growth, while the baking soda is believed to increase alkalinity and therefore reduce the risk of bacterial and fungal diseases.
Sowing Garlic
Plant cloves 15-20cm apart and 5cm deep in their upright position with the pointed end facing upwards. This spacing will enable the plants to receive optimal sunlight, promote adequate air circulation, and provide sufficient room for root development.
After planting the cloves, cover them with soil and water thoroughly. A light layer of mulch can then be applied to help to retain moisture, suppress weeds, stabilise soil temperature, and enrich the soil with nutrients and organic matter.
How to Care for Garlic
Nutrient Requirements
As a heavy feeder, garlic needs high soil fertility with specific nutrient requirements throughout its two main stages of growth. Conducting a soil test can offer a comprehensive overview of the health of your soil and identify the specific nutrients needed. For a more generalised approach, follow the recommended fertiliser regime for each growth stage outlined below.
Stage one
During the first stage of growth, garlic requires nitrogen to encourage the development of its leaves, which will subsequently feed the bulbs.
Once the shoots have emerged through the soil, a granular fertiliser that is rich in nitrogen, such as blood and bone, can be applied to the soil around the plants. This will provide a gradual release of nutrients to support early leaf growth over the autumn and winter period.
As the soil temperatures warm in the springtime, a regular monthly application of a liquid seaweed fertiliser will supply the plants with a fast-absorbing source of nitrogen during their primary growth phase. This will ensure large healthy leaves that directly correlate to the quality of the bulb.
Avoid fertilising with nitrogen as this can lead to excessive leaf growth and poor quality bulbs.
Stage two
In the second stage of growth, phosphorus becomes an essential nutrient for bulb development. Approximately 4-6 weeks before the expected harvest, it is important to discontinue nitrogen applications, allowing the plant to redirect its energy and nutrients to the base for bulb development rather than continuing leaf growth.
The timing of this stage can be determined by the first appearance of the scape emerging from the leaf centre of a hardneck variety, such as Early Purple. Phosphorus can then be applied in the form of a wood ash solution or a commercial granular fertiliser to support the development of bulbs.
More Information coming soon!
How to Harvest, Cure, and Store Garlic
Information coming soon!